IPv6 Leaks: When a VPN Misses Half Your Traffic
Key points
- An IPv6 leak sends IPv6 traffic outside the tunnel and exposes your real IPv6 address.
- It happens because many VPN setups were built for IPv4 and ignore the IPv6 path.
- Leaks are silent: the VPN looks connected while part of your traffic stays unprotected.
- A good setup routes IPv6 through the tunnel or disables it, with protection on by default.
On this page
You connect your VPN, see the reassuring "connected" message, and assume all your traffic is protected. Most of the time it is. But there is a quiet failure mode where a slice of your traffic skips the tunnel entirely and carries your real address out into the open. It is called an IPv6 leak, and it is easy to miss because everything looks fine.
This guide explains what an IPv6 leak is, why it happens, how to test for it in a minute, and how a properly built VPN prevents it. It sits alongside two related problems, DNS leaks and WebRTC leaks, which we will tie together as we go.
If you want the testing mindset first, our overview of testing your VPN connection is a good companion to this article.
Two Kinds of Internet Address
The internet is in the middle of a long move from one addressing system to another. The old system, IPv4, ran low on addresses years ago. The newer system, IPv6, has a vast supply and is now active on many home and mobile networks, often at the same time as IPv4.
That overlap is the root of the problem. Your device may have both an IPv4 address and an IPv6 address, and it can use either one to reach a website. If your VPN was built to handle only IPv4, the IPv6 path becomes a side door. Our explainer on what an IP address is covers the basics of both systems if you want the foundation.
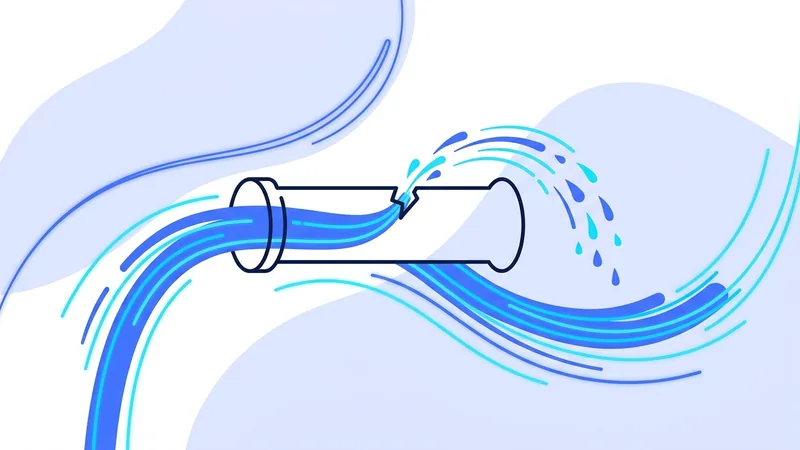
What an IPv6 Leak Is
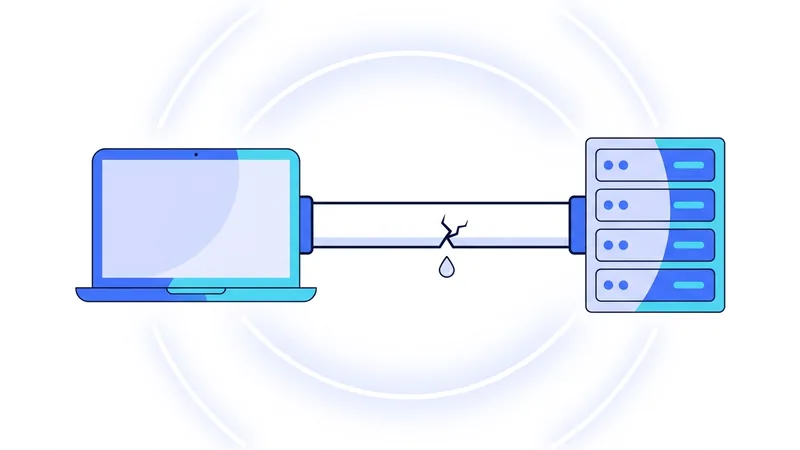
An IPv6 leak happens when your VPN protects your IPv4 traffic but lets IPv6 traffic travel outside the tunnel. Your encrypted connection carries the IPv4 part of your activity, while the IPv6 part slips out the side door directly to websites.
The damage is specific. Any site that can reach you over IPv6 sees your real IPv6 address, which points back to your connection just as a normal address would. The whole reason you turned on the VPN, hiding your address, fails for that traffic. And because the connection still works perfectly, you get no warning that anything is wrong.
This is what makes leaks dangerous. They are silent. The VPN appears connected, your pages load, and the protection is quietly incomplete.
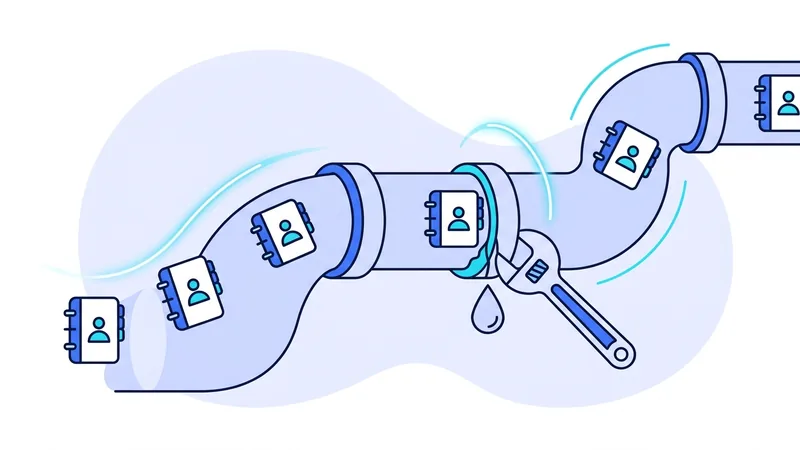
Why Leaks Happen
The simplest cause is age. Many VPN configurations were designed around IPv4, back when IPv6 was rare. If the VPN only thinks in IPv4 terms, it routes IPv4 into the tunnel and ignores IPv6 traffic, which then takes the normal unprotected path.
A second cause is partial setup. The VPN might route IPv6 in theory but fail to update every routing rule on your device, leaving gaps. A third is the network itself handing your device a fresh IPv6 address that the VPN never accounted for.
The common thread is that IPv6 has to be deliberately handled. Doing nothing is not safe, because the IPv6 path exists on its own and will carry traffic unless the VPN either claims it or shuts it off.
The Leak Family: DNS, IPv6, and WebRTC
IPv6 leaks belong to a small family of leaks that all work the same way: a piece of traffic escapes the tunnel and exposes information the VPN was meant to hide. It helps to see them together.
| Leak type | What escapes | What it exposes |
|---|---|---|
| IPv6 leak | IPv6 traffic outside the tunnel | Your real IPv6 address |
| DNS leak | Name lookups to the wrong resolver | Which sites you visit |
| WebRTC leak | Browser connection details | Your real local or public IP via the browser |
They are separate problems with separate fixes, so a clean DNS test does not guarantee a clean IPv6 result, and vice versa. Our DNS leak guide covers the first, and our explainer on WebRTC leaks covers the third. Check all three when you want confidence that nothing is slipping out.
How to Test for an IPv6 Leak
Testing takes about a minute and is worth doing on any new VPN or after a big app update.
- First, with the VPN off, visit a leak test site that reports both IPv4 and IPv6. Note what addresses it shows so you know your real ones.
- Connect your VPN and pick any server.
- Reload the same test site. Look at both the IPv4 and IPv6 results.
- The IPv4 address should now be the VPN server's. The IPv6 result should either show the VPN's address or show no IPv6 at all. If it shows your real IPv6 address from step one, you have a leak.
Tip: test specifically on a network you know uses IPv6, like many home and mobile connections. A network without IPv6 cannot reveal an IPv6 leak, so a clean result there does not prove your setup is safe everywhere.
How a Good Setup Prevents It
There are two solid approaches, and a well built VPN does one of them automatically. The first is to route IPv6 through the tunnel just like IPv4, so all traffic is protected regardless of address type. The second is to disable IPv6 on the device while the VPN is connected, so there is simply no IPv6 path for traffic to escape through. Both close the side door.
What matters is that this protection is on by default and does not depend on you flipping a setting. Leak protection that you have to remember is leak protection that eventually fails. This is the same principle behind a kill switch, which we cover in our broader VPN security guide: the safe behavior should be automatic.
When you evaluate any VPN, run the test above rather than taking the connected message on faith. A provider that builds leak protection correctly will pass quietly, and that is exactly what you want. If you would like to run that test against us, you can start on our free VPN plan and check both address types yourself.
Should You Just Disable IPv6? The Trade-Offs
If you read enough guides, you will find one piece of advice over and over: just turn IPv6 off on your device. It sounds simple, and in one narrow case it does help. If your VPN does not handle IPv6 at all, then a leak needs an IPv6 path to escape through. Remove that path by switching IPv6 off, and there is no door left for that traffic to slip out of. For an app that ignores IPv6, this is a real patch.
The problem is that it treats a real fix like a light switch, and there is a cost to flipping it. IPv6 is where the internet is heading. More networks and services lean on it every year, and some newer mobile and home networks use it heavily. Turn it off across your whole system and you may run into slow or failed connections on those networks, with no obvious clue why. It is also a manual change. You have to remember you made it, and remember to undo it later when it gets in your way.
There is a cleaner answer. Use a VPN app that handles IPv6 for you. A well-built app does one of two things while you are connected: it carries your IPv6 traffic safely through the same tunnel as the rest, or it cleanly blocks IPv6 only for as long as the connection is active and restores it the moment you disconnect. Either way, you are not the one reaching into system settings and hoping you set it right.
So treat disabling IPv6 as a workaround, not a real fix. It can plug a hole in a pinch, but the better move is an app like vpn.now that manages IPv6 itself, so you do not have to think about it.
Summary
- An IPv6 leak lets IPv6 traffic skip the tunnel while IPv4 stays protected, exposing your real IPv6 address.
- It happens because many setups were built for IPv4 and do not deliberately handle the IPv6 path.
- Leaks are dangerous because they are silent: the VPN looks connected while protection is incomplete.
- IPv6, DNS, and WebRTC leaks are a family of escapes; test for all three on a network that uses IPv6.
- A good VPN either routes IPv6 through the tunnel or disables it while connected, with protection on by default.
Test it yourself. Run our IPv6 leak test to see your live results in seconds.